Directory Privacy
By using Directory Privacy it allows you to assign specific users to specific files in the control panel. Once enabled, it means users must login in order to view them
Step 1. Selecting your Specific Directory
First you need to log into cPanel if you are unsure on how to do this, see our very helpful guide which explains how to do this.
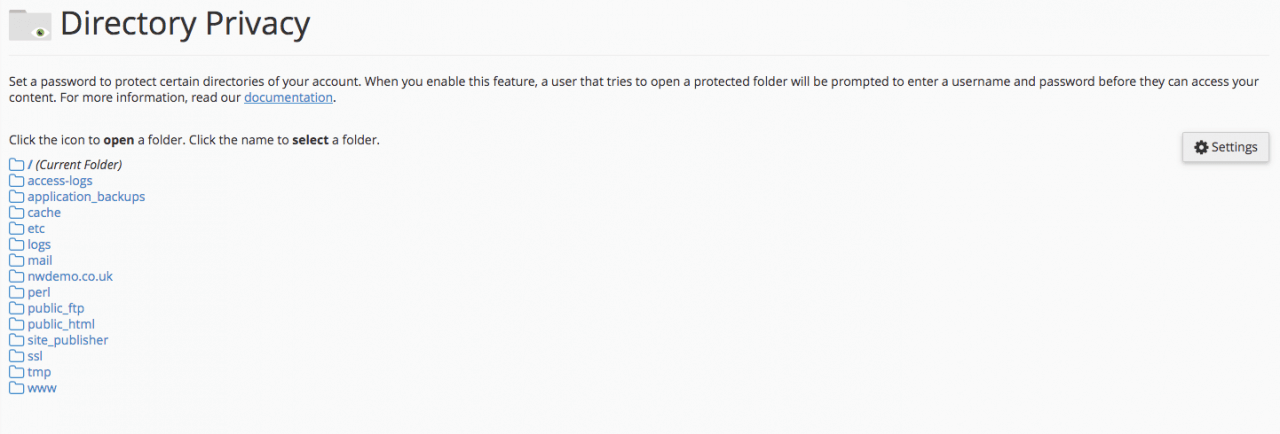
Once logged into cPanel, under the ‘files’ heading, select ‘Directory Privacy’.
From here, choose the directory you wish to make private.
Step 2. Making the Directory Private
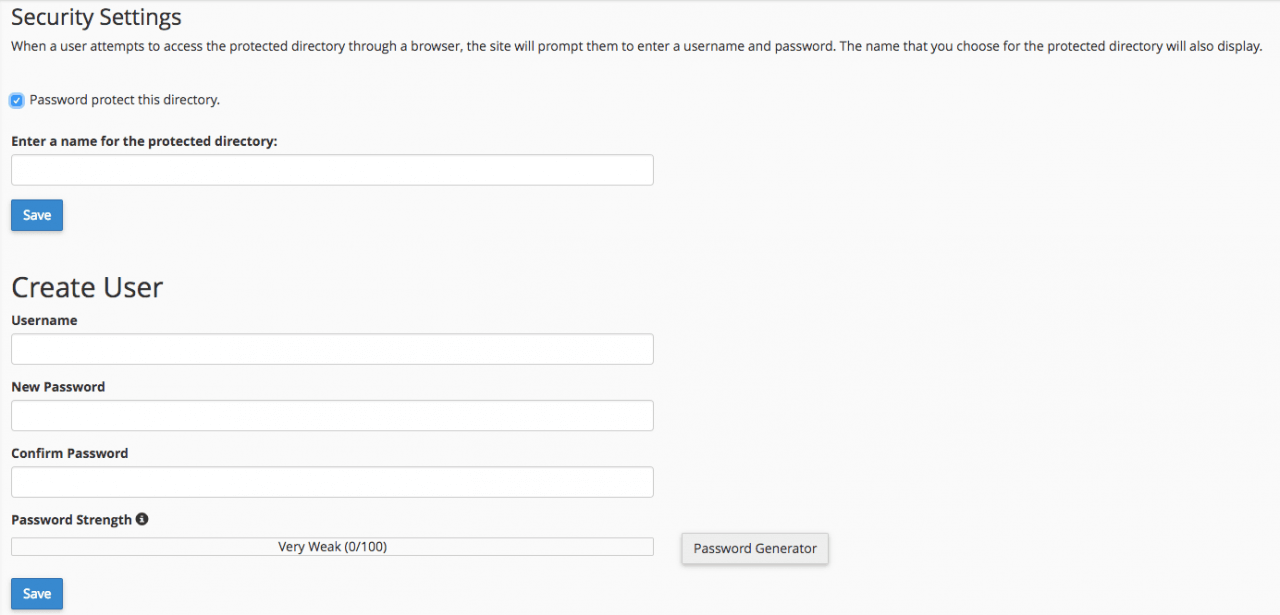
On this page, first select ‘Password protect this directory’.
Below this enter a display label for this using ‘Enter a name for the protected directory:’ box.
Click ‘Save’.
Step 3. Creating Users
In order to access it you have made private you must now add at least one user.
You can do this below under the ‘Create User’ heading.
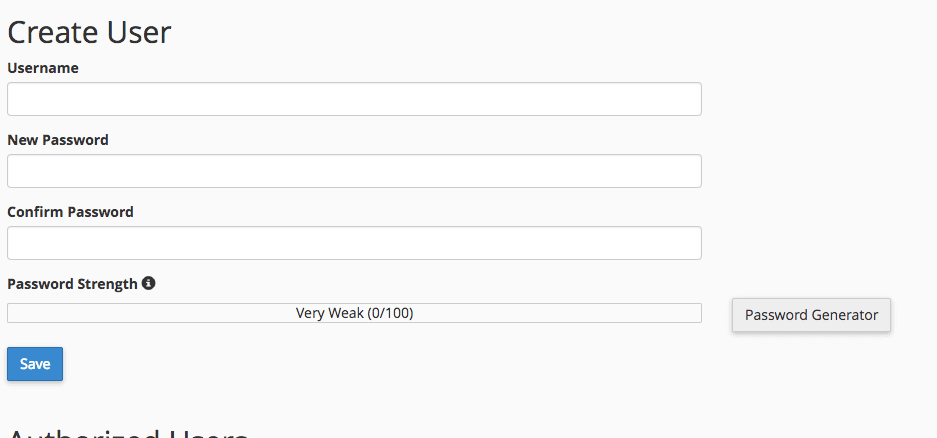
Input a suitable ‘Username’ and ‘Password’ then press ‘Save’. If you are struggling for a strong enough password try using our password generator to generate a secure password that meets all of our criteria.
The user should now be added and the directory should be accessible through using the login you have just created.
Step 4. Managing Users
Below the ‘Create User’ section under the ‘Authorised Users’ section is a list of users that can access that specific directory. Here you can manage them.
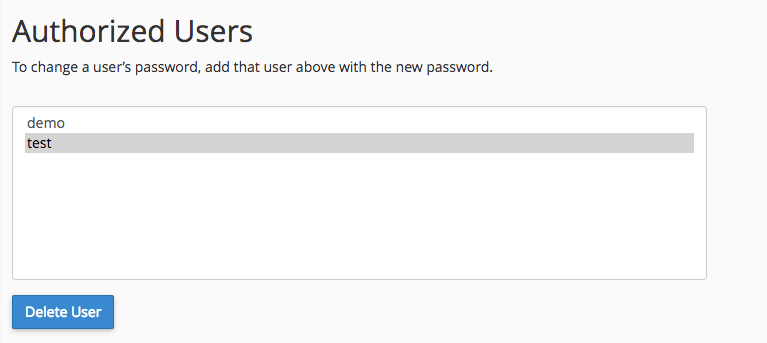
If you wish to remove a user, select the user, (it should be highlighted blue). And then press ‘Delete User’.
Once you have done this you will get a conformation message and that user will no longer be able to login in order to view the directory. This can be useful if you only want specific users to only view certain directories and creates a layer of protection against certain directories that you may not want people to necessarily access.