Dealing with Chain Mail in your Email Accounts
If you have a business with several Email Accounts, chain mail and viruses can easily get around the workplace. With this guide and some basic Search Quote Queries you should be able to remove all these emails from your active accounts without requiring a login for these accounts. Before you start you will need to know the email address which is sending the chain mail.
Step 1. Go to the Control Panel and Email management page
Visit the control panel and in the search bar at the top of the screen, search ’email’.

Select ‘Email Accounts’. From this page, scroll down to the heading ‘Email Accounts’.

Step 2. Removing Unwanted Emails from accounts
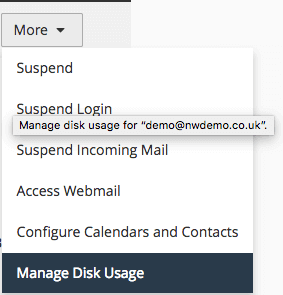
From the ‘Email Accounts’ page, select the ‘More’ option and from here select ‘Manage Disk Usage’.
From this page, select the account you would like to remove the specific email from, you can do this through the drop down menu or you could search using the search bar.
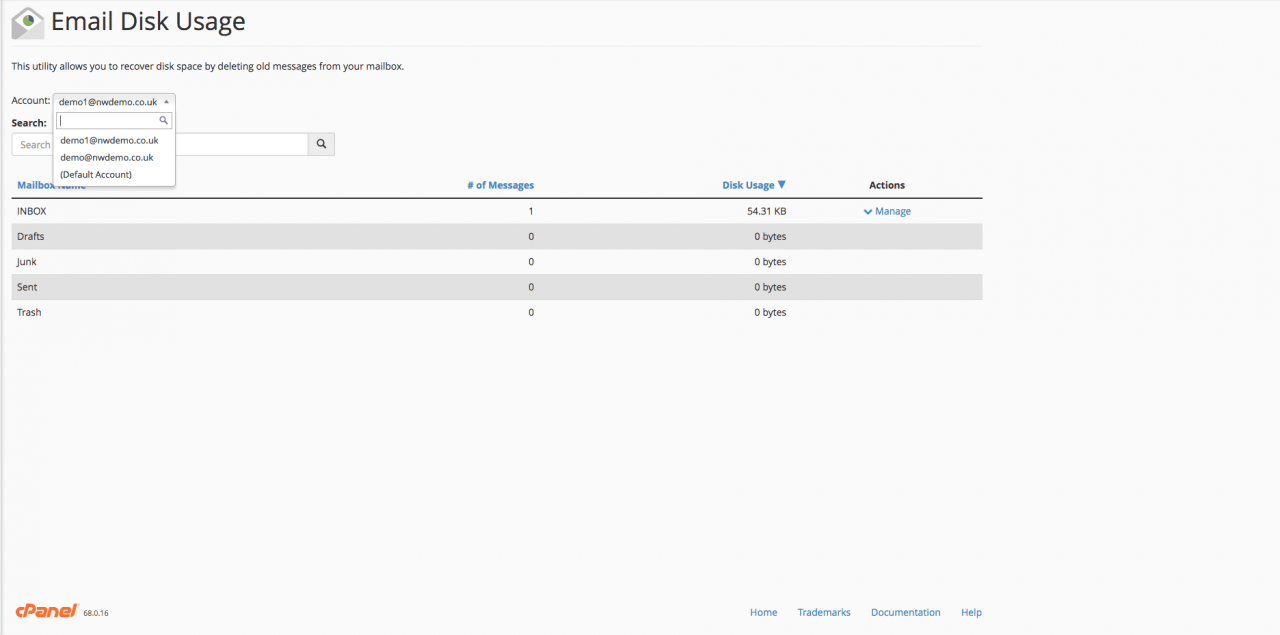
When you have chosen your specified Email account. Chose the Mailbox you suspect the email to be in. If you have come to this guide in order to remove chain mail from the account – this will be in the inbox. From here click ‘Manage’ for that mailbox.
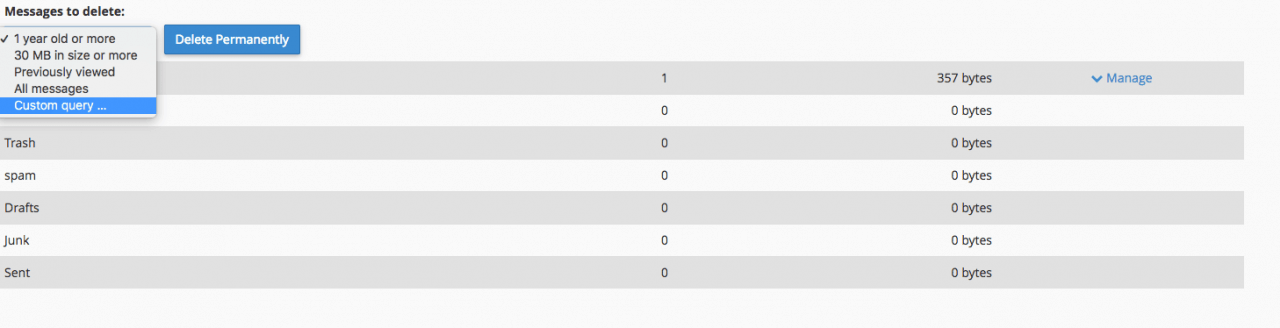
Under the heading ‘Messages to delete:’ using the drop down menu, Select ‘Custom query…’. .

In the text box that appears type –
FROM unwanted email
Where ‘unwanted email’ is the email address of the spam or chain mail is being sent from. Now click ‘Delete Permanently’.
This will remove the email from the inbox. This should be repeated for all the accounts if you suspect chain mail or a virus across your accounts. This should prevent the spread of the unwanted mail within your accounts by removing all emails which match your query.