Adding Global Email Filters
This guide will explain how to add global email filters in order to prevent unwanted mail from entering all accounts associated within a domain.
Step 1. Navigating to ‘Global Email Filters’ in the control panel
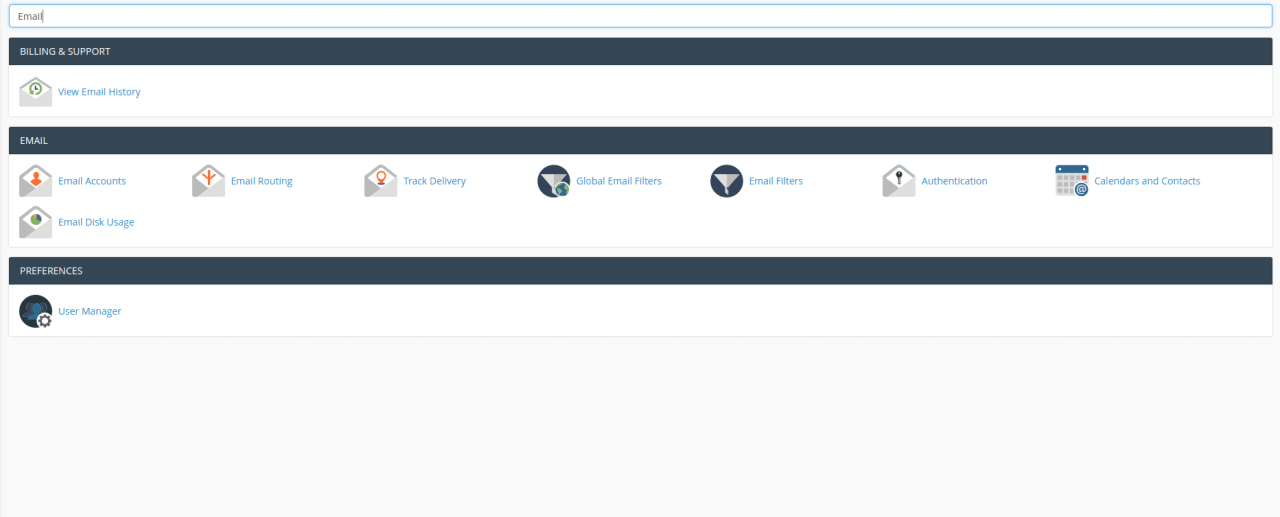
Navigate to the control panel using our How To Access The Control Panel guide. Once there search for ‘Email’ using the search bar located near the top of the control panel. Find the heading ‘EMAIL’, then select ‘Global Email Filters’.
Step 2. Click ‘Create a New Filter’
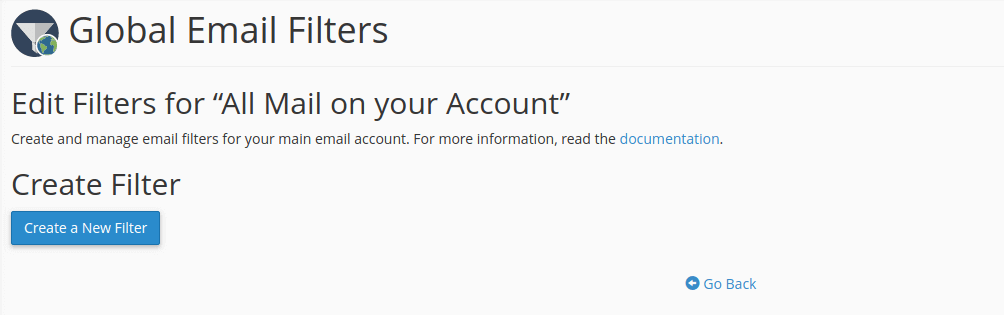
Find the ‘Create Filter’ heading then click ‘Create a New Filter’.
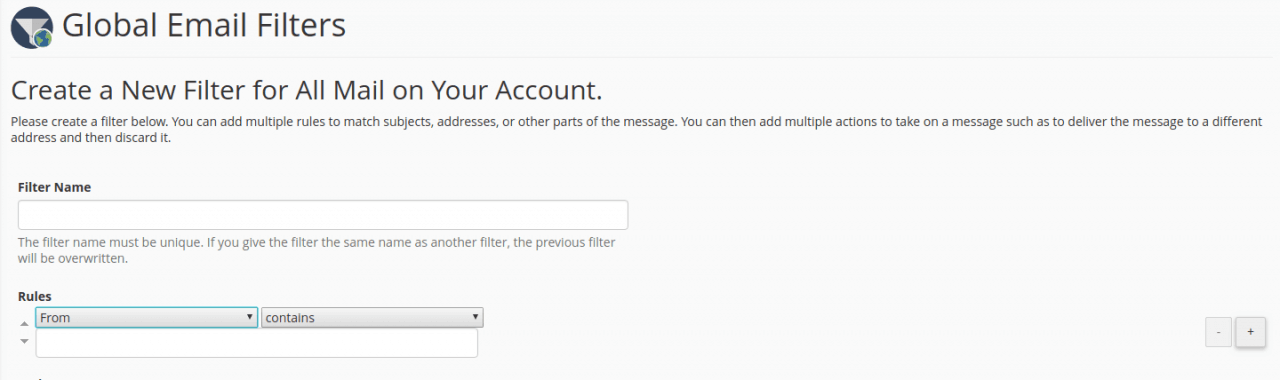
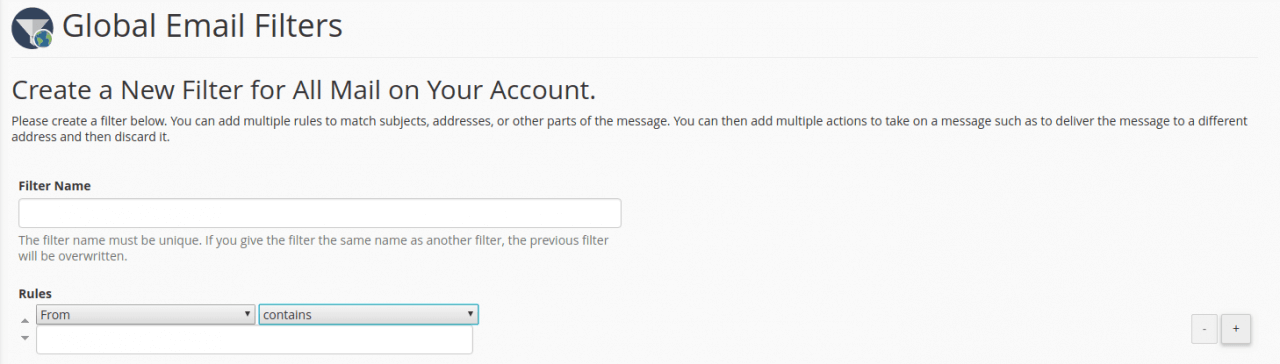
Step 3. Choose a Filter Name
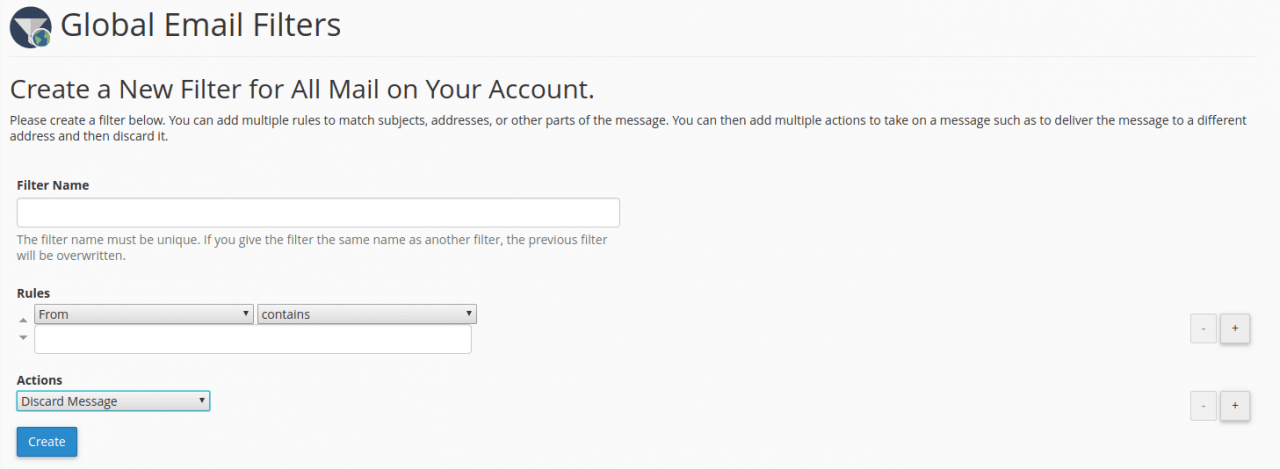
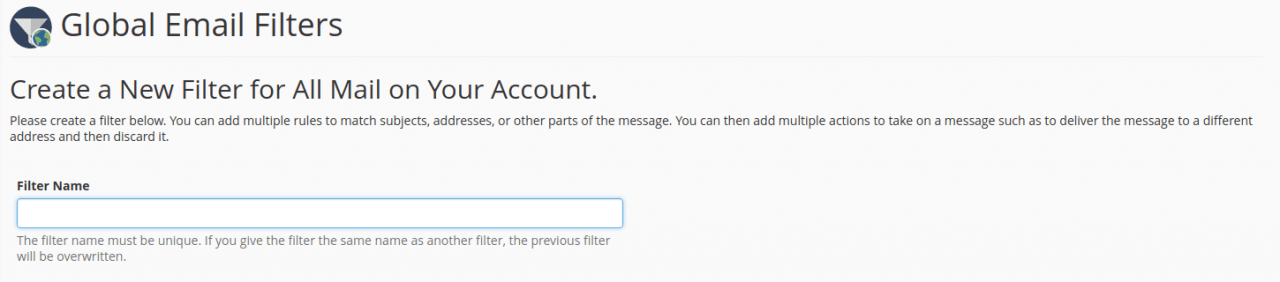
In the ‘Filter Name’ field enter your desired filter name. The name you choose should be unique. However, if you use a previous filter name, the original will be overwritten.
Step 4. Configure your filter’s rules
Under the heading ‘Rules’, there are two drop down menus. The first has the following options:
From – This refers to the address that the message was sent from
Subject – This refers to the line explaining what the message is about
To – This refers to the address that the message is sent to
Reply – This refers to the address that the sender will receive replies
Body – This refers to the content of the message
Any Header – This refers to any part of the header of the message
Any Recipient – This refers to any recipient of the message
Has Not Been Previously Delivered – The system only looks for messages in the delivery queue
Is an Error Message – The system only looks over the errors sent out by the auto response system
List ID – This shows the account’s mailing lists
Spam Status – This determines whether Apache SpamAssassin has recognised the email as spam or not
Spam Bar – This assigns plus signs to a message. The more plus signs assigned, the more likely the system will mark the email as spam
Spam Score – This represents the number of plus signs in the spam bar
The second drop down menu has the following options:
Contains – The message contains a string defined by the user
Matches regex – The message matches a regular expression defined by the user
Equals – The message exactly matches a string defined by the user
Begins with – The message begins with the defined string
Ends with – The message ends with the defined string
Does not begin – The message does not begin with the defined string
Doesn’t end with – The message does not end with the defined string
Does not match – The message does not match the defined string
Step 5. Configure your filter’s actions
Under the ‘Actions’ heading there is a drop down menu with the following options:
Discard Message – The system discards the message with no failure notice
Redirect to Email – The system redirects the message to another email address which the user must specify
Fail With Message – The system discards the message and automatically sends a failure notice to the sender
Stop Processing Rules – The system skips all filter rules
Deliver to Folder – The system delivers the message to a folder that the user must specify
Pipe to a Program – The system redirects the message to a program that the user must specify